Contents
- 1 Key Benefits of Going Solar
- 2 Detailed Step-by-Step Guide to Solar Installation
- 3 Effective Maintenance and Monitoring of Your Solar System
- 4 Frequently Asked Questions
- 4.1 What is the initial step in the solar installation process?
- 4.2 Do I need to obtain any permits before installing solar panels?
- 4.3 How long does the solar installation process take?
- 4.4 Do I need to prepare my roof before installing solar panels?
- 4.5 What is the final step in the solar installation process?
- 4.6 Will I need to maintain my solar panels after installation?
Understanding Solar Installation

Solar installation is all about setting up solar panels and photovoltaic systems to harness that glorious solar energy. It’s a key player in the renewable energy landscape and helps you cut down on fossil fuel dependency, promoting energy independence. The process involves several steps, like assessing your site, getting the necessary permits, and making sure everything lines up with utility regulations. Solar installation is crucial for energy independence and sustainability.
Ultimately, this lets you, whether you’re a homeowner or a business owner, enjoy clean and sustainable energy solutions.
The tech behind solar panels and photovoltaic systems relies on photovoltaic cells, which work their magic by converting sunlight into electricity thanks to something called the photovoltaic effect. When sunlight hits these cells, they generate direct current (DC) electricity. Then, with the help of an inverter, that DC is flipped into alternating current (AC) for you to use at home.
This whole setup is designed to capture energy efficiently, making it perfect for everything from residential rooftops to massive solar farms.
By embracing solar power, you’re not just helping the environment; you’re also saving a pretty penny on your electricity bills, reducing your carbon footprint, and gaining both economic and ecological benefits. As more and more people realize the importance of renewable energy, solar installation is becoming a crucial part of achieving energy independence and sustainability.
Green, M. A., Dunlop, E. D., Hohl-Ebinger, J., Yoshita, M., Kopidakis, N., & Hao, X. (2020). Solar cell efficiency tables (version 56). Progress in Photovoltaics: Research and Applications, 28(7), 629-638. Link
Key Benefits of Going Solar
- Energy savings
- Strong return on investment
- Reduced fossil fuel dependency
- Lower carbon emissions
- Improved energy efficiency
Transitioning to solar energy brings a ton of benefits, both for the environment and your wallet, making it a smart choice whether you’re a homeowner or running a business. Plus, it offers energy savings and a strong return on investment.
When you invest in solar technology, you’re not just boosting your energy efficiency and cutting down on installation costs; you’re also doing your part for a sustainable future by reducing carbon emissions and relying less on traditional energy sources, contributing to climate change solutions.
Comprehensive Environmental and Financial Benefits of Solar Energy
The environmental and financial perks of solar energy are pretty impressive, helping you promote sustainability and eco-friendly practices while reaping some economic benefits. By using solar power, you can cut down on your carbon footprint, take advantage of federal and local incentives, and enjoy long-term savings from lower energy bills and better energy efficiency.
Choosing solar energy not only helps reduce greenhouse gas emissions but also conserves natural resources, aligning with environmental regulations. It lessens your reliance on fossil fuels, which are limited and tough on the environment.
Regarding finances, there are plenty of solar financing options out there, like solar loans, solar leases, and power purchase agreements (PPAs). This gives you the flexibility to pick a plan that suits your budget. Plus, these options usually come with a favorable cost analysis, showing you the potential for substantial savings over time.
On top of that, the mix of state and federal tax credits and solar incentives makes solar installations even more affordable, turning it into a win-win for both your wallet and the planet.
Detailed Step-by-Step Guide to Solar Installation
Starting a solar installation project means you’ll need to plan and execute things carefully, considering your installation timeline and energy output goals. This step-by-step guide will help you navigate each stage of the installation process.
You’ll begin by assessing your roof’s suitability and your energy consumption, conducting a shading analysis, then move on to obtaining the necessary building permits and making sure you’re in line with local utility regulations. This guide covers everything you need to know to make your solar project a success.
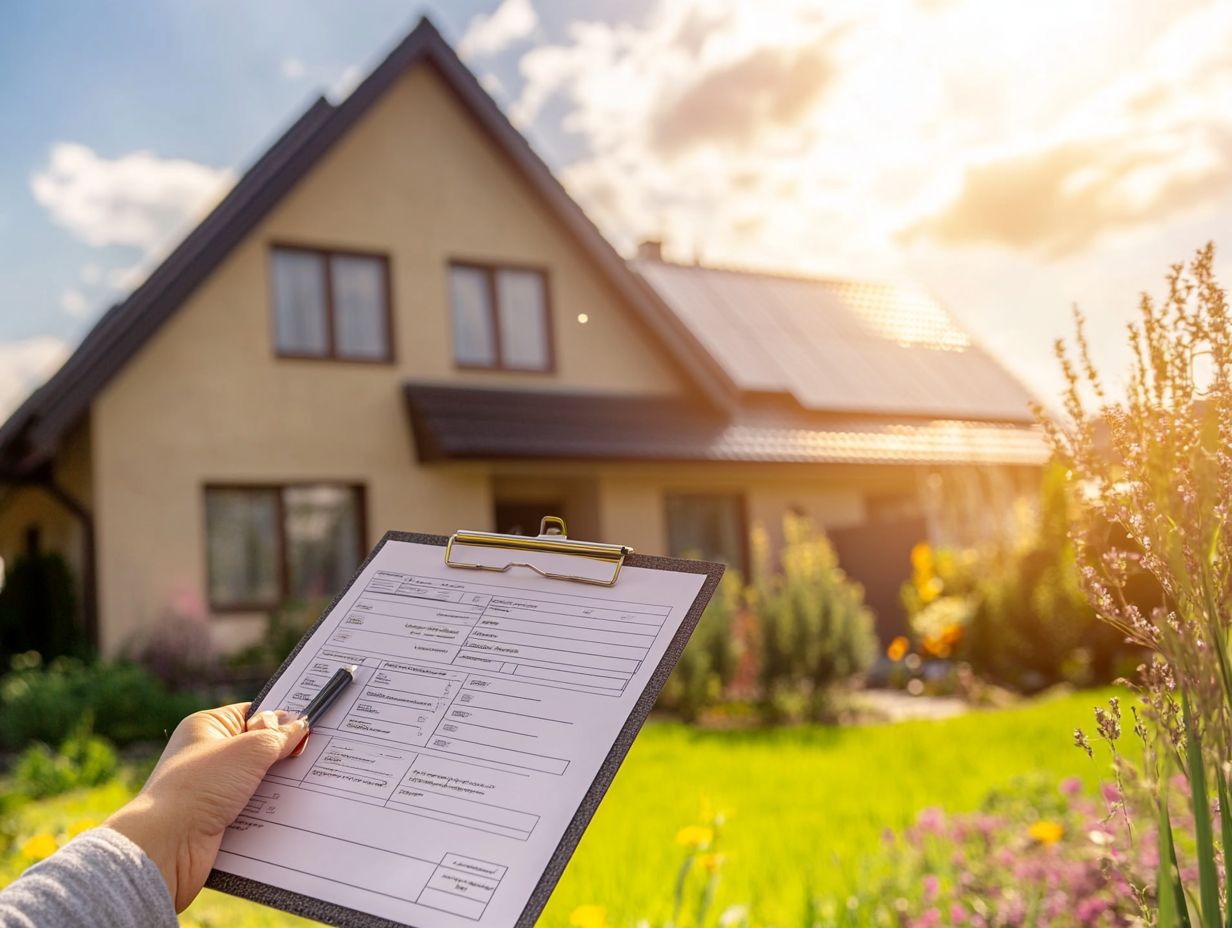
Step 1: Assessment and Planning
The first step in your solar installation journey is to begin a thorough site assessment and planning phase. This means taking a good look at your site to see if it’s ready for solar panels.
Start with an energy audit to figure out your energy consumption and solar capacity, then move on to a solar load calculation. This will help you determine if the planned system can meet your needs while taking into account things like roof orientation and shading.
A solid site assessment will not only show you how much weight your roof can handle but also help you spot any external factors—like nearby trees or buildings—that might cast shadows and affect your solar generation potential. For example, checking for nearby structures that block sunlight is crucial.
Understanding shading is key because it can really impact the efficiency of your solar system. Plus, the energy audit will give you a clear picture of your electricity usage, so you can align your solar goals with your actual needs.
By combining insights from these evaluations, you can create a tailored solar plan that maximizes your energy savings, boosts sustainability, and ensures optimal solar orientation. This way, you’ll ensure a smooth transition to renewable energy without any hiccups along the way.
Step 2: Obtaining Permits and Approvals for Solar Installation
Before you begin your solar installation, it’s super important to get all the necessary permits and utility approvals. This step is all about making sure you’re compliant with local building codes and utility regulations.
You’ll need to submit your plans for the solar project, which means coordinating with your solar installer and local authorities to gather the right documentation for a smooth installation process.
Understanding the specific types of permits you’ll need—like electrical permits, building permits, and possibly even environmental permits—can really affect your installation timeline and project management. Remember, sticking to building codes isn’t just about following the law; it’s also about ensuring your installation is safe and efficient.
To make this phase easier, start by researching local regulations and engage with your solar installation company early on. Keep the lines of communication open with the relevant building departments to clear up any questions and stay updated on any changes in regulations, since those can shift frequently.
And don’t forget to keep detailed records of all your submissions; it’ll help prevent unnecessary delays and keep your solar project management on track.
Step 3: Choosing and Purchasing Equipment
Choosing the right equipment is crucial for the success of your solar power system to achieve optimal performance because it directly affects energy efficiency, system performance, and overall installation costs. You will want to pick high-quality solar panels, inverters, and mounting systems that match your energy needs and optimize performance, ensuring you have a reliable and effective solar array setup.
When you’re evaluating your options, make sure to consider efficiency ratings. These metrics will tell you how well the solar panels convert sunlight into usable energy. Don’t forget to check out warranty options, too—solid warranties can give you peace of mind about the longevity and performance of your investment.
Compatibility with your existing systems is also a key factor—ensuring that new components will work seamlessly together can save you from costly modifications later on and guarantee a smooth solar grid integration. It’s a good idea to explore various brands and models, as some might specialize in specific technologies or efficiencies that fit your unique needs perfectly.
Taking this comprehensive approach will not only boost the performance of your solar panels but also ensure that your inverters and mounting systems align with your long-term renewable energy goals and solar performance ratio.
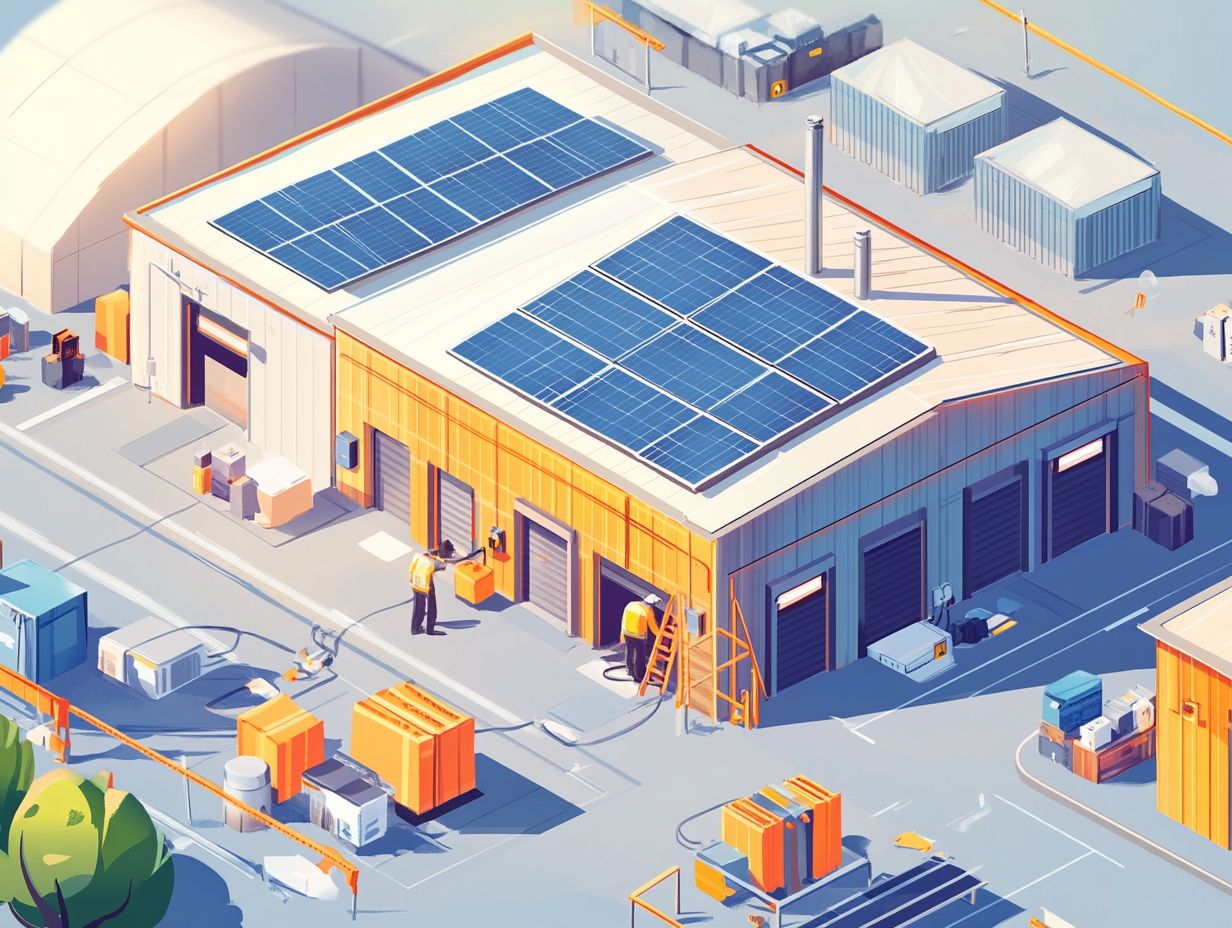
Step 4: Installation Process
The installation process is where your solar array is fully realized, and you can choose between professional installation or DIY solar, depending on your skill level and how comfortable you feel. This phase involves some important tasks, like wiring, making electrical connections, and securely mounting your solar panels to soak up all that glorious sunlight.
To ensure everything is executed efficiently, you’ll want to stick to essential safety measures. That means using the right equipment and following local electrical code and safety guidelines to keep hazards at bay. Regarding connecting your system to the electrical grid, take your time to do it carefully to facilitate energy flow, and don’t forget about any necessary permits and inspections.
If you decide to go the professional route with an installation crew, teamwork is key. Having a few skilled hands on deck can really streamline the process, making sure that every step—communication, assembly, and testing—flows without a hitch. Collaborating properly can help reduce the risk of mistakes and boost overall effectiveness, leading to a successful and efficient solar power setup.
Step 5: Final Inspections, Testing, and Grid Connection
After completing the installation, it is essential to conduct final inspections and troubleshooting to make sure everything meets the required standards and is ready for grid connection. This means a thorough review by local authorities and your installation team to confirm that you’re in compliance with utility regulations.
After that, you’ll want to set up performance monitoring systems to keep an eye on your solar power system’s efficiency. This process not only ensures safety but also checks that all components, from inverters to photovoltaic panels, are working properly, improving system design and performance.
Once everything has passed the inspections, you can establish the grid connection, which allows for a smooth integration of your solar energy production with the existing power supply, enabling net metering.
Installing real-time monitoring systems enables you to track energy output effectively, quickly spot any potential issues, and optimize performance over time. With the right monitoring tools, you can make sure your photovoltaic system is maximizing energy production and effectively contributing to renewable energy and sustainability efforts. This is crucial for maintaining the energy efficiency of your solar power setup and minimizing the environmental impact.
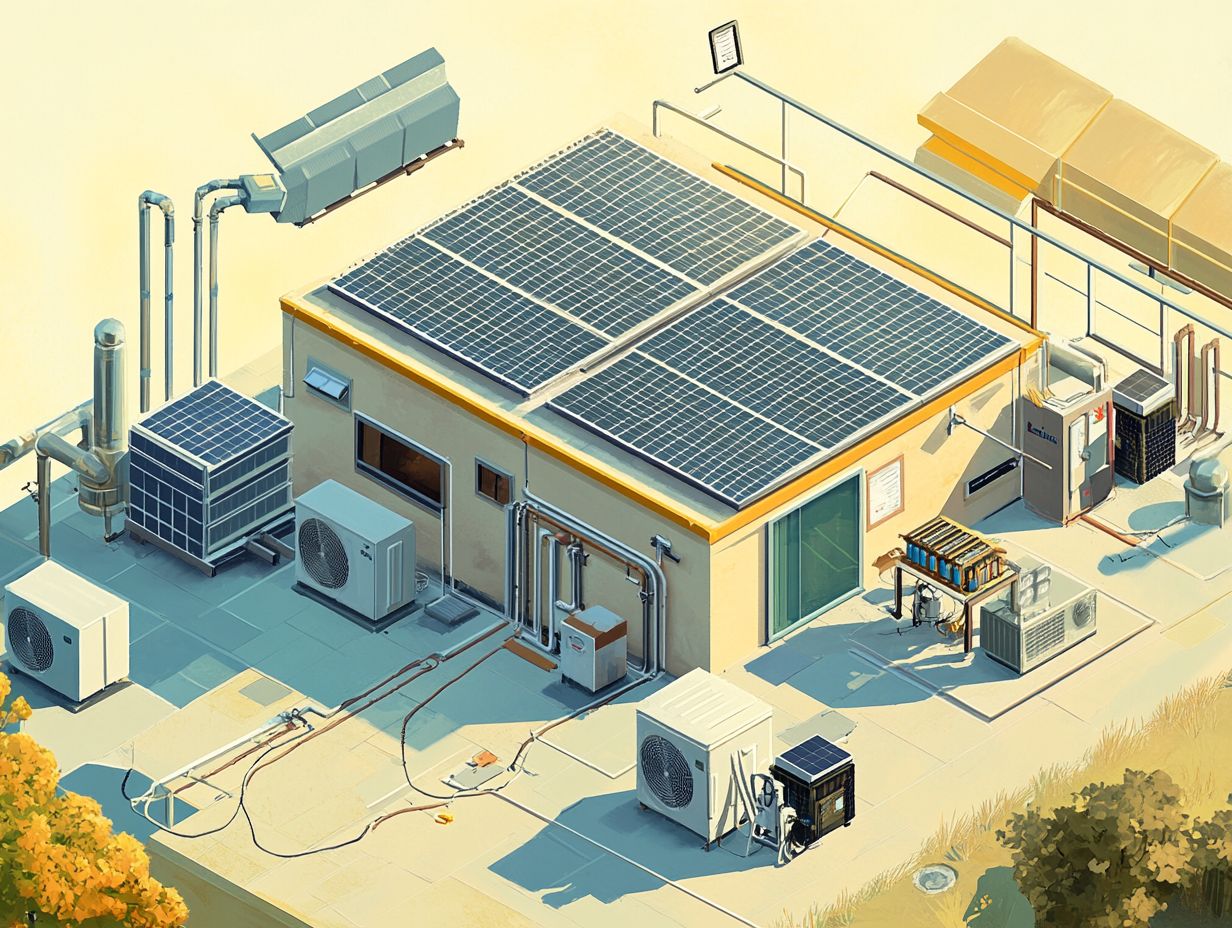
Effective Maintenance and Monitoring of Your Solar System
Once your solar installation is up and running, regular maintenance and performance monitoring become key to making sure it produces energy efficiently.
By getting to know your solar technology, including solar panels and inverter systems, and following some best practices for upkeep, you can extend the lifespan of your solar system. This approach maximizes your energy savings while contributing to sustainability and energy independence.
Tips for Proper Maintenance
Regular maintenance, including inspections and troubleshooting, is key to keeping it running efficiently and lasting a long time. There are several easy tips you can follow to make sure everything runs smoothly and adheres to safety guidelines.
Regularly cleaning your solar panels to get rid of dirt and debris, keeping an eye on performance metrics, and scheduling professional inspections can really help you maximize energy savings without breaking the bank on installation costs. This also ensures adherence to solar certification requirements.
To maintain optimal performance, clean your solar panels at least twice a year, or even more often if you live in a dusty area or somewhere with lots of pollen. During those inspections, make sure the pros check important components like inverters and electrical connections for any wear and tear to ensure everything’s working as it should according to the electrical code.
You should watch out for a few signs that maintenance might be needed, like:
- A noticeable drop in energy production
- Unusual noises coming from the inverter
- Visible damage on the panels
Be vigilant for signs that maintenance may be required, such as:
Keeping an eye on these factors will not only boost efficiency but also help extend the lifespan of your solar system, giving you even greater returns on your investment.
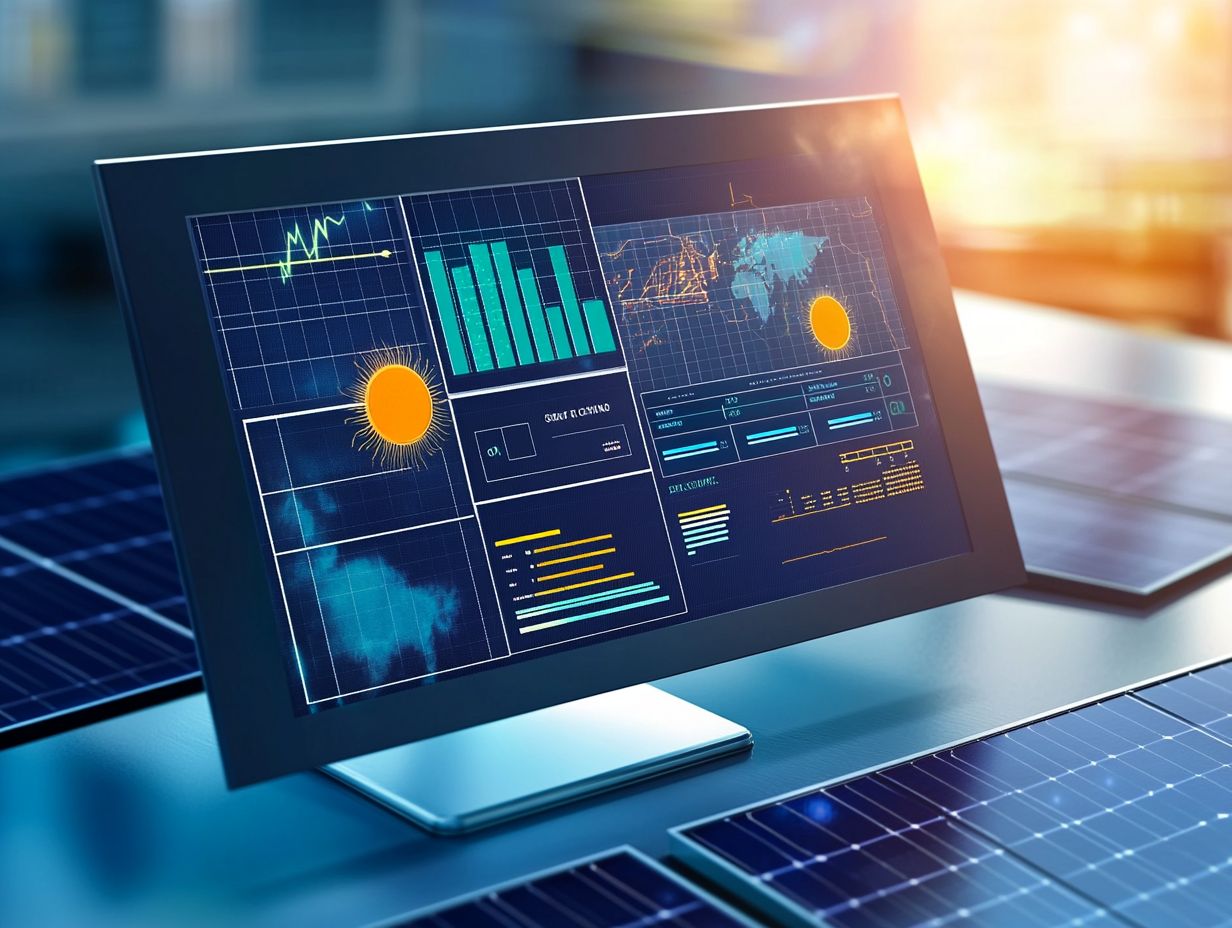
Monitoring Your Solar System’s Performance
Effective monitoring of your solar system’s performance is essential for optimal operation if you want it to run at its best and keep up with your energy needs. With advanced monitoring systems, you can easily track energy production and solar capacity, spot any issues early on, and make tweaks to get the most out of your solar power setup. This is essential for optimizing solar performance ratio and achieving energy transition goals.
These tools help you tap into various performance metrics, giving you a clear view of your energy generation patterns and consumption trends. By using technologies like IoT sensors and data analytics platforms, you can quickly identify inefficiencies, whether it’s from shading effects, inverter issues, or module wear and tear—making you more aware of solar array layouts and system design considerations.
Having real-time data available is a game changer. It puts you in the driver’s seat, allowing you to manage your energy resources proactively and ensure your solar system is consistently performing at its best. Making informed decisions based on accurate monitoring can lead to significant savings and boost your sustainability efforts, enhancing your return on investment and reducing your carbon footprint. Regular monitoring is vital for optimizing your solar system’s performance.
Skoplaki, E., & Palyvos, J. A. (2009). On the temperature dependence of photovoltaic module electrical performance: A review of efficiency/power correlations. Solar Energy, 83(5), 614-624. Link
Frequently Asked Questions

What is the initial step in the solar installation process?
The first step in the solar installation process is to conduct a site assessment. This involves evaluating your property’s location, orientation, and potential obstacles that may impact the efficiency of your solar panels.
Do I need to obtain any permits before installing solar panels?
Yes, you will need to obtain building permits before installing solar panels. This ensures that your installation meets all safety and construction codes.
How long does the solar installation process take?
The duration of the installation process can vary depending on the size and complexity of the project. On average, it can take anywhere from 1-3 days to complete the installation.
Do I need to prepare my roof before installing solar panels?
Yes, your roof will need to be inspected and potentially reinforced before installing solar panels. This is to ensure that your roof is able to support the weight of the panels and withstand any weather conditions.
What is the final step in the solar installation process?
The final step in the solar installation process is to connect your panels to your home’s electrical system and utility grid. This will allow you to start generating and using solar energy in your home.
Will I need to maintain my solar panels after installation?
Yes, it is important to regularly clean and inspect your solar panels to ensure they are operating at peak efficiency. It is recommended to clean and inspect them at least twice a year. Additionally, you may need to replace any faulty parts or make adjustments over time to maintain the effectiveness of your solar system.