Contents
- 1 Determining the Best Location for Solar Panels
- 2 Choosing the Right Wiring and Connectors
- 3 Installing Solar Panels on the Roof
- 4 Connecting Solar Panels to an Inverter
- 5 Connecting the Inverter to the House Wiring
- 6 Testing and Troubleshooting the Connection
- 7 Maintenance and Safety Tips for Solar Panel Connections
- 8 FAQs
- 8.1 What are the benefits of connecting solar panels to house wiring?
- 8.2 Is it possible to connect solar panels to house wiring?
- 8.3 Do I need a professional to connect solar panels to house wiring?
- 8.4 What equipment is needed to connect solar panels to house wiring?
- 8.5 Are there any safety considerations when connecting solar panels to house wiring?
- 8.6 Can I connect solar panels to my existing electrical system?
When you embark on the journey of harnessing solar energy, it’s essential to grasp the fundamental concepts surrounding solar panels. At their core, solar panels are devices that convert sunlight into electricity. They achieve this through photovoltaic cells, which are made from semiconductor materials, typically silicon.
When sunlight strikes these cells, it excites electrons, creating an electric current. This process is not only efficient but also environmentally friendly, making solar energy a popular choice for homeowners and businesses alike. As you delve deeper into solar technology, you’ll encounter various types of solar panels, including monocrystalline, polycrystalline, and thin-film panels.
Monocrystalline panels are known for their high efficiency and sleek appearance, while polycrystalline panels are often more affordable but slightly less efficient. Thin-film panels are lightweight and flexible, making them suitable for unique applications. Understanding these differences will help you make informed decisions about which type of solar panel best suits your needs and budget. Get your free solar assessment at https://www.solarenergy4u.org/free-pro-advice/.
Key Takeaways
- Solar panels convert sunlight into electricity using photovoltaic cells
- The best location for solar panels is where they can receive maximum sunlight, typically facing south
- Use proper wiring and connectors to ensure efficient and safe connection of solar panels
- When installing solar panels on the roof, make sure to secure them properly and consider the angle for optimal sunlight exposure
- Connect the solar panels to an inverter to convert the DC electricity into AC electricity for use in the house
Determining the Best Location for Solar Panels
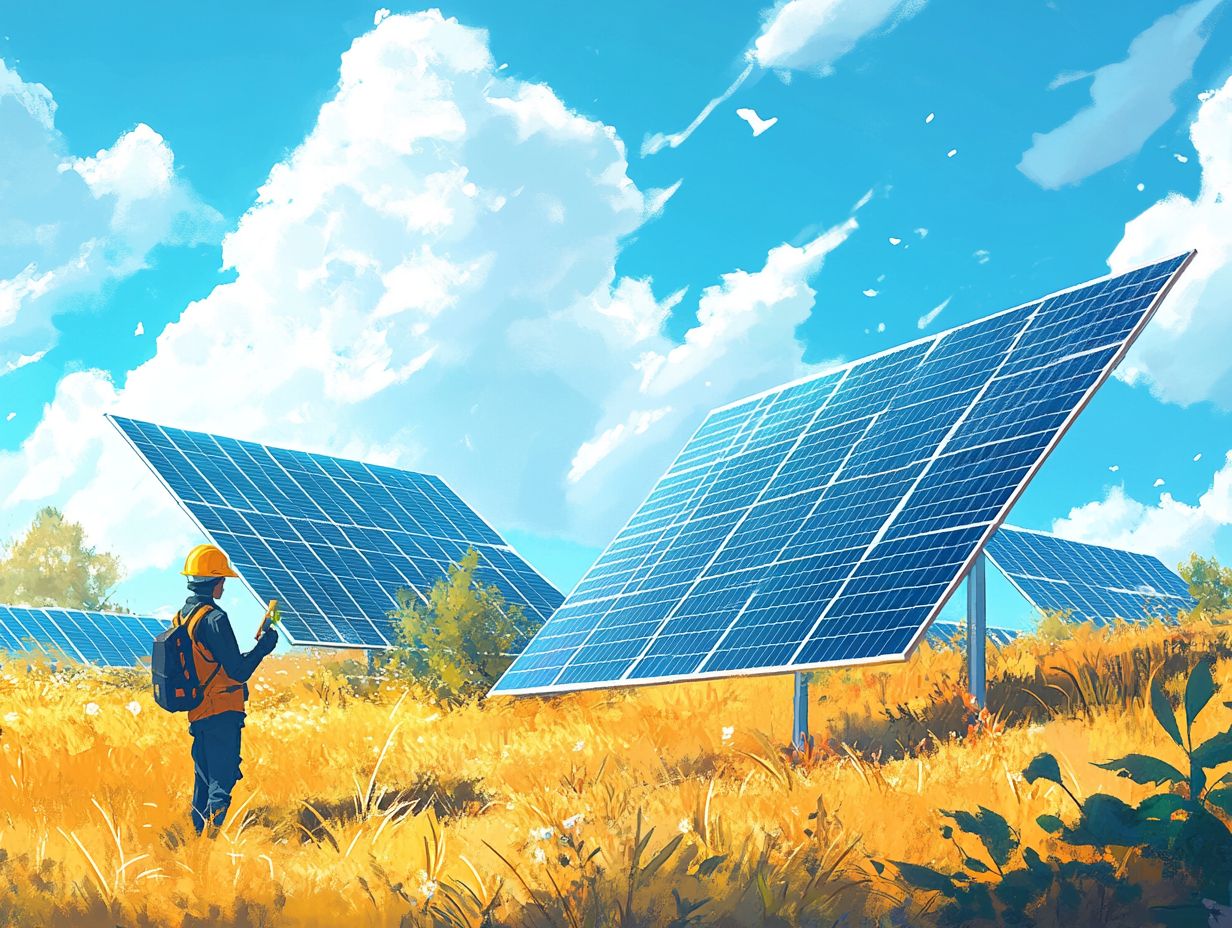
Selecting the optimal location for your solar panels is crucial to maximizing their efficiency and energy output. Ideally, you want to place your panels in an area that receives ample sunlight throughout the day. This typically means positioning them on a south-facing roof or an open space free from obstructions like trees or tall buildings.
Before installation, consider conducting a solar site assessment to evaluate the sun exposure in different areas of your property. This assessment will help you identify the best spots for your panels. In addition to sunlight exposure, you should also consider the angle and tilt of your solar panels.
The angle at which your panels are installed can significantly impact their performance. In general, a tilt angle that matches your geographical latitude will yield the best results. However, if you live in an area with seasonal variations in sunlight, you might want to adjust the angle seasonally to capture more sunlight during different times of the year.
By taking these factors into account, you can ensure that your solar panels operate at peak efficiency.
Choosing the Right Wiring and Connectors
Once you’ve determined the location for your solar panels, the next step involves selecting the appropriate wiring and connectors. The wiring is essential for transporting the electricity generated by the panels to your inverter and ultimately to your home’s electrical system. It’s crucial to choose high-quality, weather-resistant wiring that can withstand outdoor conditions.
Typically, you’ll want to use copper wiring due to its excellent conductivity and durability. Connectors are equally important in ensuring a reliable connection between your solar panels and wiring. MC4 connectors are commonly used in solar installations because they provide a secure and waterproof connection.
When selecting connectors, ensure they are compatible with your specific solar panel model and wiring gauge. Properly choosing and installing wiring and connectors will help prevent energy loss and ensure a safe and efficient solar power system.
Installing Solar Panels on the Roof
| Metrics | Data |
|---|---|
| Roof Space Required | 10-100 square meters |
| Cost of Solar Panels | 10,000 – 30,000 |
| Energy Output | 10-20 kWh per day |
| Payback Period | 5-10 years |
| Environmental Impact | Reduces CO2 emissions by 1-4 tons per year |
With the right location and materials in hand, you can now proceed to install your solar panels on the roof. Begin by securing mounting brackets to your roof structure, ensuring they are anchored firmly to withstand wind and weather conditions. It’s essential to follow manufacturer guidelines during this process to ensure proper installation.
If you’re not comfortable working at heights or handling tools, consider hiring a professional installer who has experience with solar panel installations. Once the mounting brackets are in place, carefully attach the solar panels to these brackets. Make sure they are aligned correctly and securely fastened to prevent any movement or damage over time.
After securing the panels, it’s a good idea to double-check all connections and ensure that everything is properly sealed against moisture. This step is vital for maintaining the longevity of your solar power system and preventing potential issues down the line.
Connecting Solar Panels to an Inverter
After successfully installing your solar panels, the next step is connecting them to an inverter. The inverter is a critical component of your solar power system as it converts the direct current (DC) generated by the panels into alternating current (AC), which is what your home uses for electricity. Begin by following the manufacturer’s instructions for connecting the solar panels to the inverter.
Typically, this involves connecting the positive and negative wires from each panel to corresponding terminals on the inverter. It’s important to ensure that all connections are secure and properly insulated to prevent any electrical hazards. Additionally, check that the inverter is rated appropriately for the total wattage of your solar panel system.
If you have multiple panels connected in series or parallel configurations, make sure that the inverter can handle the combined output without exceeding its limits. A well-connected inverter will ensure that you can efficiently utilize the energy generated by your solar panels.
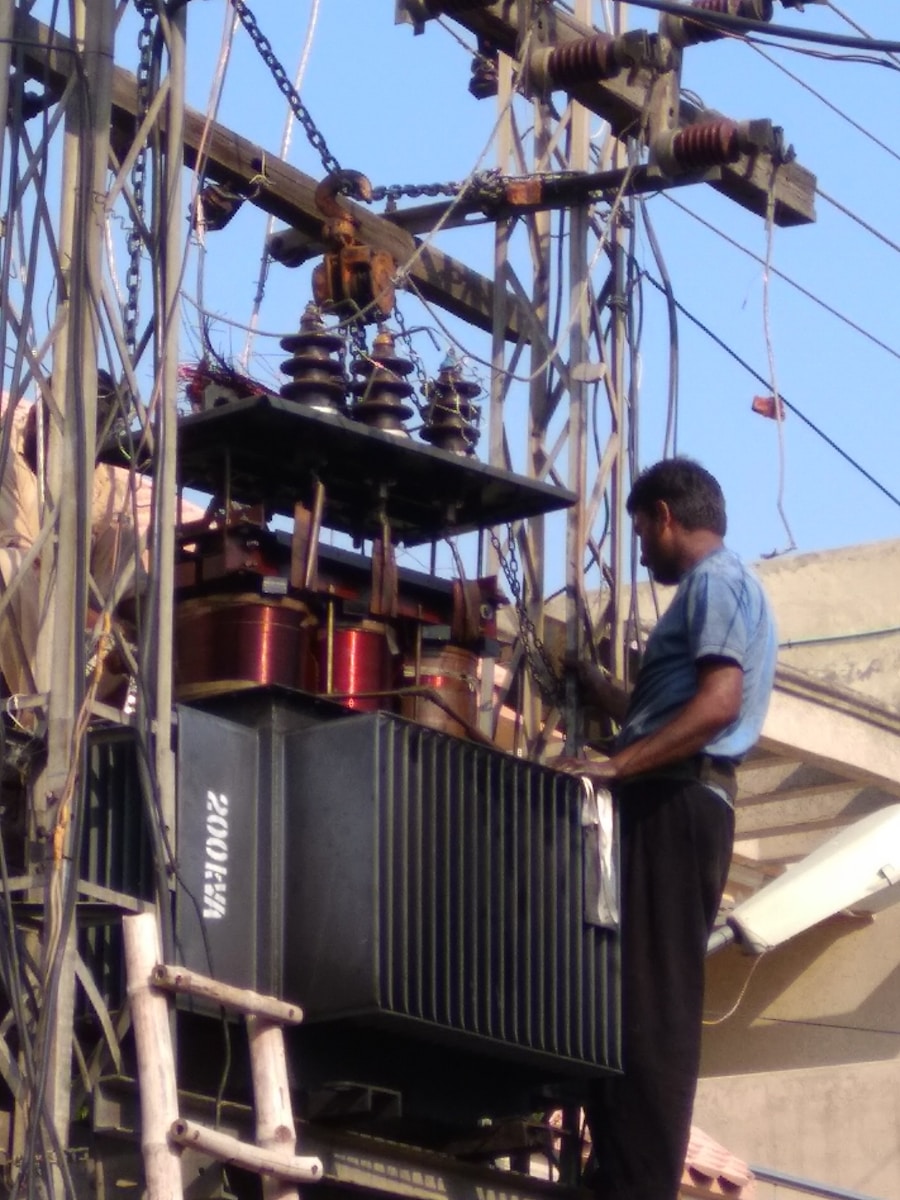
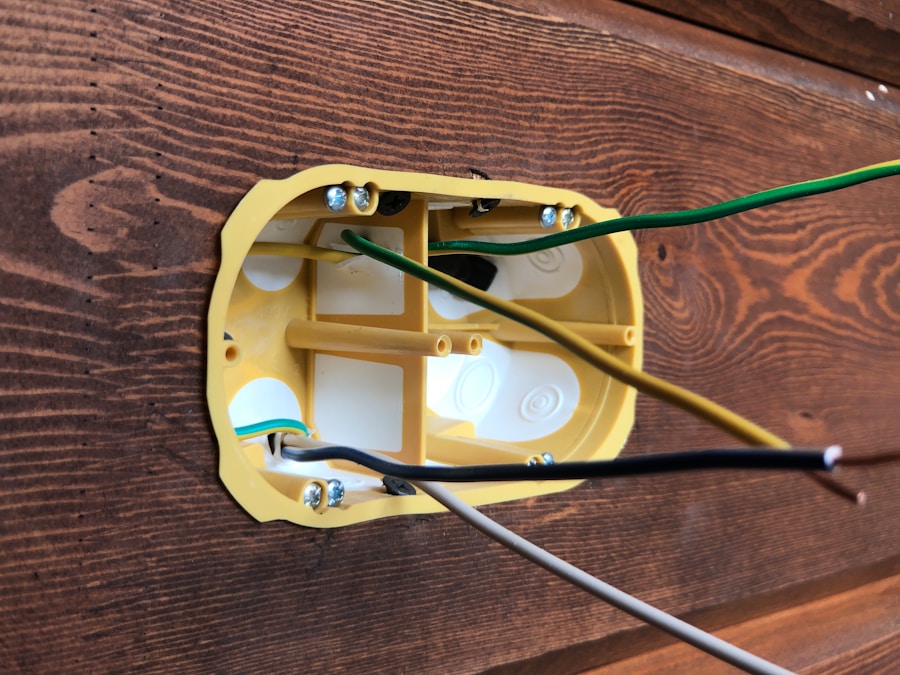
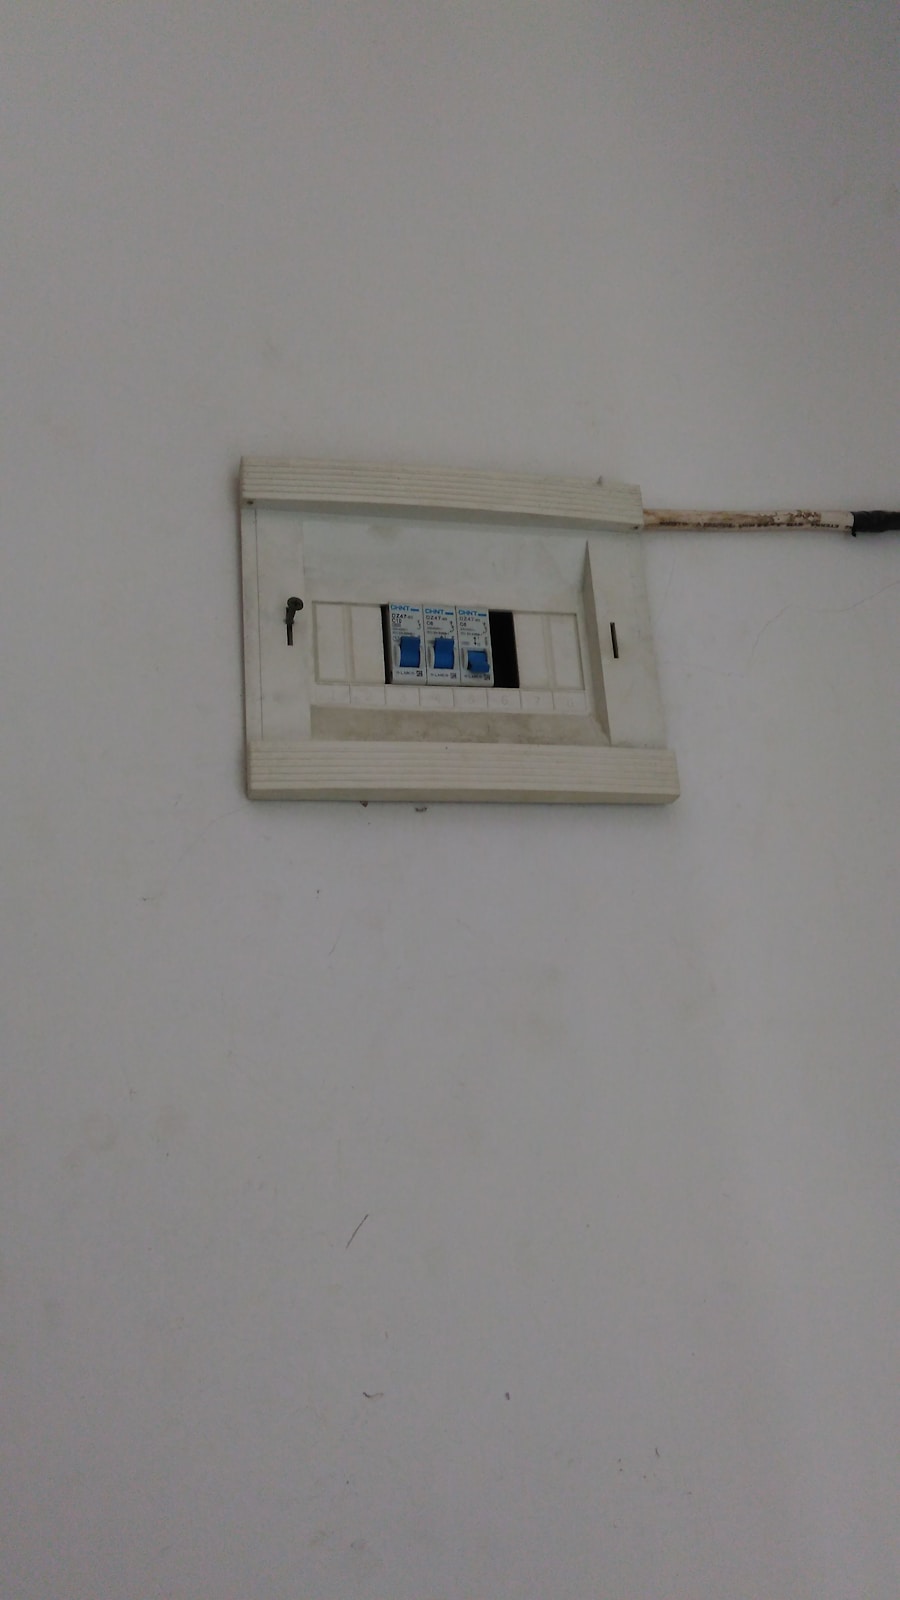
Connecting the Inverter to the House Wiring
Preparing for a Safe Installation
Before integrating your inverter with your home’s electrical system, ensure that all power sources are turned off to avoid any electrical hazards during installation.
Making the Connection
Typically, the connection is made through a dedicated circuit breaker in your electrical panel. You’ll need to run appropriate gauge wiring from the inverter to this breaker, ensuring that all connections are secure and compliant with local electrical codes.
Ensuring a Safe and Correct Installation
If you’re unsure about any aspect of this process, it’s wise to consult with a licensed electrician who can help ensure that everything is installed safely and correctly.
Testing and Troubleshooting the Connection
After completing all connections between your solar panels, inverter, and house wiring, it’s time to test the system to ensure everything is functioning correctly. Start by turning on the circuit breaker connected to your inverter and checking for any error messages or warning lights on the inverter display. If everything appears normal, monitor the system for a few hours to see if it generates electricity as expected.
If you encounter any issues during testing, troubleshooting may be necessary. Common problems include loose connections, incorrect wiring configurations, or issues with the inverter itself. Carefully inspect all connections and wiring for any signs of damage or wear.
If you’re unable to resolve any issues on your own, don’t hesitate to reach out to a professional technician who can diagnose and fix any problems effectively.
Maintenance and Safety Tips for Solar Panel Connections
Maintaining your solar panel system is essential for ensuring its longevity and efficiency over time. Regularly inspect all connections and wiring for signs of wear or damage, especially after severe weather events. Keeping your solar panels clean is also important; dirt and debris can reduce their efficiency significantly.
A gentle wash with water or a soft brush can help keep them in optimal condition. Safety should always be a priority when working with electrical systems. Ensure that all components are properly grounded to prevent electrical shocks or fires.
Familiarize yourself with local regulations regarding solar installations and adhere strictly to safety guidelines during maintenance tasks. By following these maintenance and safety tips, you can enjoy a reliable and efficient solar power system for years to come. In conclusion, transitioning to solar energy involves understanding various components and processes associated with installation and maintenance.
By grasping these basics—from selecting an ideal location for your panels to ensuring safe connections—you can create a sustainable energy solution that benefits both your household and the environment. Whether you choose to tackle this project yourself or enlist professional help, being informed will empower you throughout your solar journey.
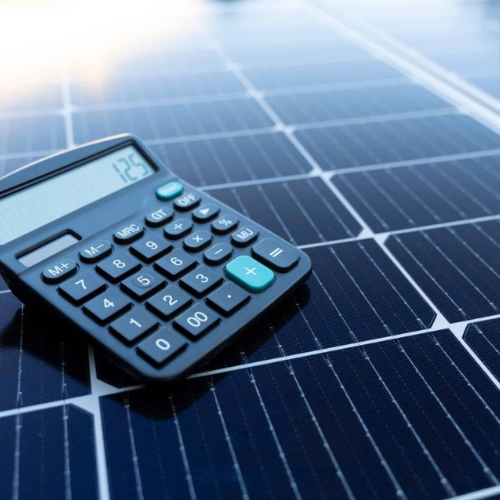
If you are considering connecting solar panels to your house wiring, you may also be interested in exploring solar financing options. This article on solar financing options can provide valuable information on how to fund your solar panel installation. Additionally, setting sustainability goals for your solar energy system is crucial for maximizing its benefits. Check out this article on solar sustainability goals to learn more about how to make your solar panels more environmentally friendly. Lastly, using a solar cost benefit calculator can help you determine the financial impact of installing solar panels on your home. Visit this article on solar cost benefit calculator to assess the potential savings and return on investment of going solar.
FAQs
What are the benefits of connecting solar panels to house wiring?
Solar panels can help reduce electricity bills, decrease reliance on traditional energy sources, and reduce carbon footprint. They can also provide a backup power source during outages.
Is it possible to connect solar panels to house wiring?
Yes, it is possible to connect solar panels to house wiring. This process involves installing a solar inverter to convert the DC power generated by the solar panels into AC power that can be used in the home.
Do I need a professional to connect solar panels to house wiring?
It is recommended to hire a professional electrician or solar installer to connect solar panels to house wiring. This ensures that the installation is done safely and in compliance with local building codes.
What equipment is needed to connect solar panels to house wiring?
The main equipment needed includes solar panels, a solar inverter, mounting hardware, wiring, and a monitoring system. Additional equipment may be required based on the specific installation and local regulations.
Are there any safety considerations when connecting solar panels to house wiring?
Safety is a critical consideration when connecting solar panels to house wiring. It is important to follow all safety guidelines and regulations, and to ensure that the installation is done by a qualified professional.
Can I connect solar panels to my existing electrical system?
Yes, solar panels can be connected to an existing electrical system. However, it is important to ensure that the system is properly sized and that any necessary upgrades are made to accommodate the solar panels.